How to Enable Recording on Zoom
Here is how to enable or disable local Zoom meeting recording for all users:
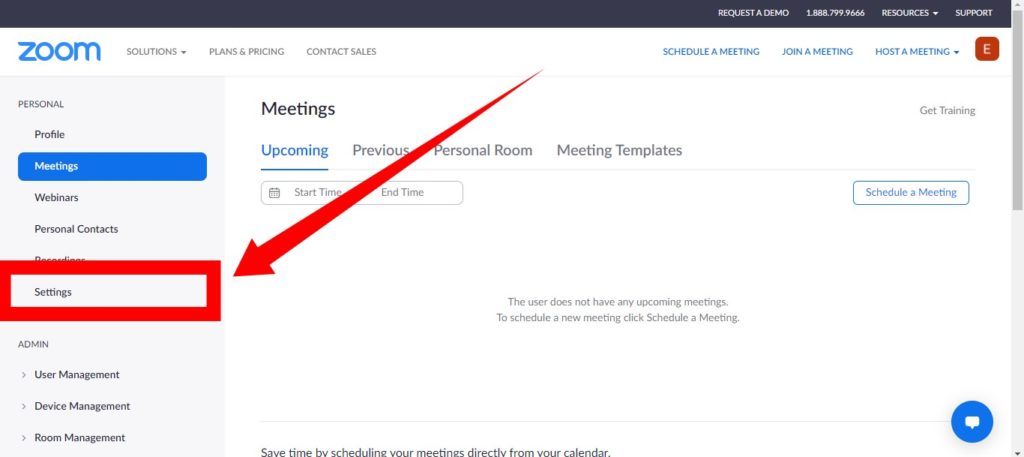
Sign in to the Zoom web portal on your computer
In the navigation menu, click Settings.
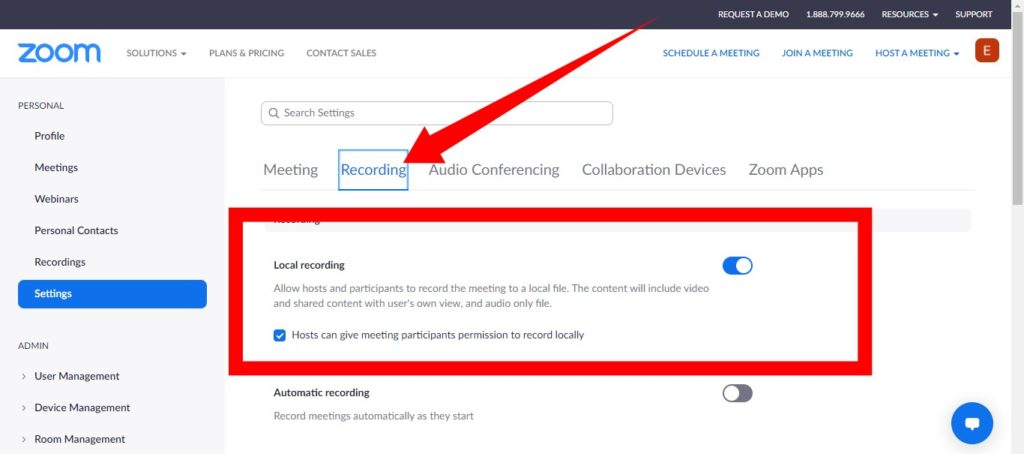
Then, click on the Recording tab.Tap on the Local Recording toggle to enable or disable it. And if a verification dialog appears, tap Turn On to verify the change.Also, make sure to tap the checkbox that says “Hosts can give participants the permission to record locally“.
How to Record a Zoom Meeting
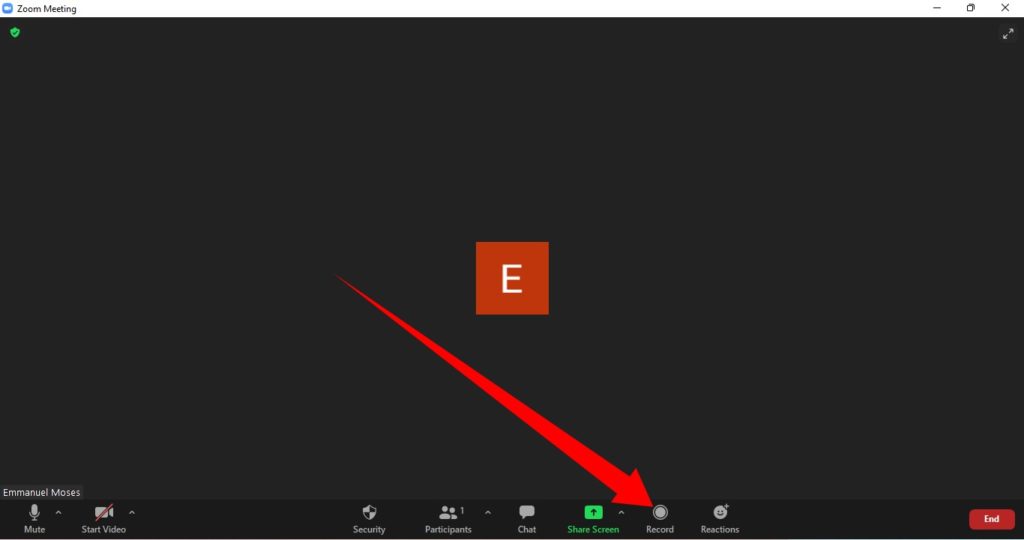
First, you’ll need to start a Zoom meeting as the host.
From the options at the bottom of the meeting window, click the Record button to start recording. You should then see a recording indicator at the top-left corner of your screen which indicates that you are currently recording the meeting. You can also click on the meeting Participants and select Allow Record to let other participants record the meeting.
Where Your Recordings Go
You should note that every Zoom account level (Including the Basic free plan.) can record meetings in Zoom. However, your subscription plan determines how you can record; while free accounts users can record video meetings locally to their PC storage, Paid (Pro and Business plans) users get 1GB of cloud storage in addition to the local storage option. Enterprise users, on the other hand, have access to unlimited cloud storage. Furthermore, for the free account users who can only record locally to their PS, here are the limitations that that comes with. You’ll have no access to:
Record using the iOS or Android appDisplay participants’ names in the recordingDisplay timestamp in the recordingRecord Active Speaker, Gallery View and shared screen separatelyShared screen recording layout with active speaker thumbnail or without any thumbnails.Audio transcription