Well, the good news is your one-and-only took one for the team. I personally went through the entire process from applying online to receiving a passport. And everything took all of one week for an ordinary passport, I kid you not. But I can’t deny that luck might have had a hand in it. Or maybe not. We need to give credit where it’s due in this Banana Republic. While new applications make up the bulk of the applications, it’s not the half of it. Ugandan citizens can also apply for Renewal, Change of Details, Damaged or Lost Passports.
Ugandan e-passport places of submission/collection in the diaspora
The online application process doesn’t cater to Ugandans in Uganda alone but also in the diaspora. Unfortunately, only a few cities get the honors to be places of submission and collection. These comprise Beijing, Brussels, Abu Dhabi, London, New Delhi, Pretoria, and Washington DC. For those in Uganda, the options are Central Office Kampala, Gulu, Mbale and Mbarara. Our post will mostly talk about our experience at the Central Office in Kampala. The experience might most probably be different for others depending on where one is situated.
Ugandan e-passport: Online application
1. Passport Application System
Go to https://www.passports.go.ug/. Depending on what stage you’re at, this could mean: Start New Application, Resume Saved Application, Schedule Appointment and Application Status. Note: These steps are in that order. You cannot schedule an appointment before filling in a new application.
2. Disclaimer: Terms and conditions
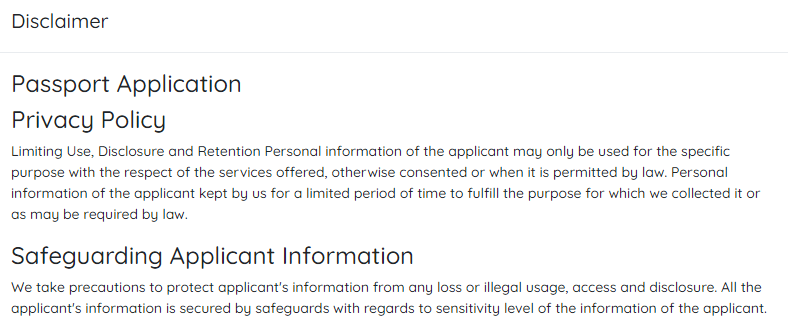
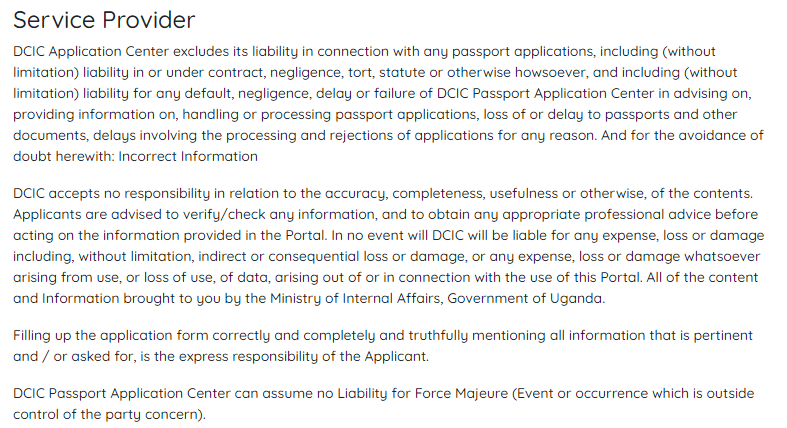
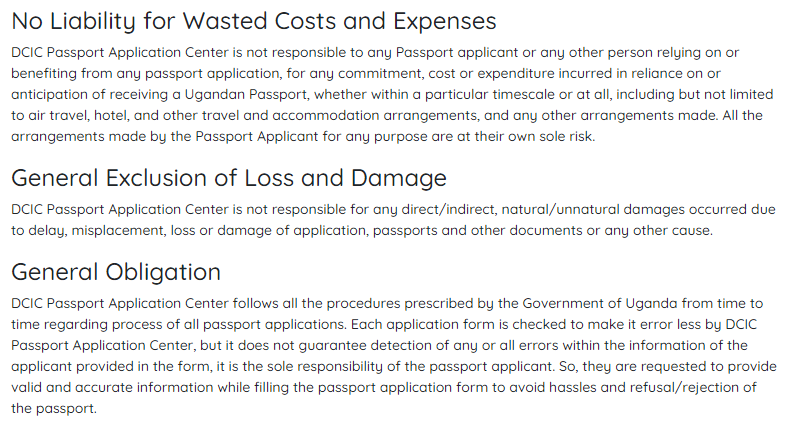
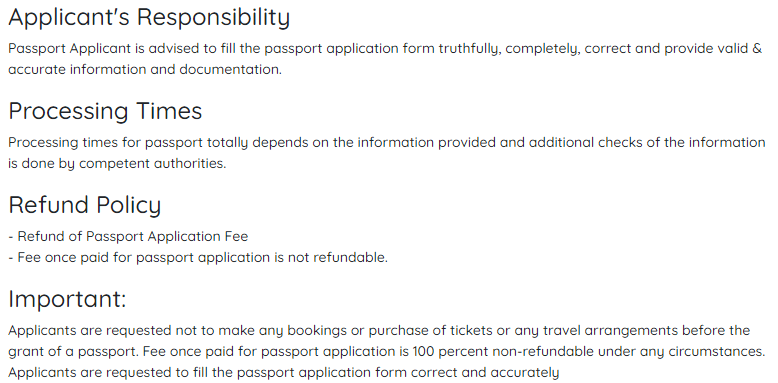
We are all culprits when it comes to ignoring terms and conditions. But this time, we strongly advise you do. The online passport application disclaimer is brief and to the point. To highlight a few salient points; the information tendered will most likely only be used for the service offered. Secondly, there is no refund policy for any money banked (duh!). Thirdly, don’t book flights before you get your passport. Last but not least, please fill correct information lest your application is rejected.
3. Filling in Personal information
Fill in the required personal information. The application process is broken down into segments: Start, The Application, The Applicant, Citizenship, Spouse, Payment Details, Next of Kin, Recommender, Payment and Review & Submit. Each segment has to be saved to continue onto the next. Note: Once you save your personal information, you can always go back to the home page at https://www.passports.go.ug/ to Resume Saved Application before the final review and submit.
4. Review & Submit
Right before you submit your personal information, you get one more chance to rectify any mistakes. Make sure you go over every detail with a fine-tooth comb. Some mistakes might haunt you later on. The review stage allows you to jump to any segment and edit it directly. If all’s well, go ahead to tick the box that says “I agree the information provided is true and accurate.” Enter the captcha letters and save.
5. Payment Mode
You can choose between over-the-counter bank payments and Online Mastercard/Visa payment. The good news is that you don’t need to have Mastercard or Visa to pay online. MTN Mobile Money works just fine. Personally, I don’t see myself queueing up to do the old fashioned over-the-counter bank payments when there are more convenient options. Actually, I loaded the UGX 250,000 onto my MTN Momo and made the payments in the comfort of my office, hustle free.
6. Schedule Appointment
Splendid! Congratulations on reaching this stage. After making payments, you are left with two things to do. First on the agenda is Scheduling an Appointment. The significance of this appointment though passed over my head. Here’s why. I missed my appointment date the first time and went two more times before I got served. Perhaps in the future, the process at the submission center will be appointment based only. However, let’s be a good sport and just schedule one. There you go!
7. Print Application
While the whole purpose of an online e-passport application is so that one doesn’t have to fill physical forms, the Passport Office requires you to print out the forms you have filled in online. Afterwhich, you have to sign against your name on the forms, and have your recommender do the same. You will also need to carry along the following supporting documents:
Proof of professionLetter of Recommendation (from your passport recommender)Copy of Recommender’s IDNational ID (the applicant)Copy of payment receipts2 passport-sized photos
Pro Tip: The Passport Office only accepts paper document folders. It’s the traditional colored type you find in primary schools. You can buy your own, or purchase it at the security check-point for UGX 2000.
A gentle guide to Ugandan e-passports and how to process oneThese are the most powerful passports in Africa
8. Submission/Collection Point
What you must know is that Uganda is a big country and all roads lead to Kampala. If you want to stand a chance of getting any service, you must make your way to the Central Office Kampala (Internal Affairs) by 7 AM. But the earlier the better. You will most probably find a queue, but that’s okay. Stand in line. At the security check-point, ask for the paper folders if you don’t have one. Take it from me, I wasted the first day insisting that my expensive document folder was just as good. If you’re early enough, you will sit in the white tent outside the submission center. It’s basically a waiting game until the attendants arrive and the area is cleaned up for business. Once you get the green light to go ahead, make sure you get a ticket at the entrance. The submission center has over a dozen TVs which will broadcast the ticket number and the till to go to to be processed. It doesn’t always work, but when it does, the process is faster than usual. When you see your ticket number proceed to the correct till. You will get an application number which you should keep safely. Pro tips:
Make sure you are among the first 200~300 applicants to arrive. Unless I am mistaken, an attendant told me personally that that’s the number of applicants who are worked on in a day. The best time to apply for a Ugandan e-passport is during the Christmas holidays. Fewer people in Kampala means shorter queues.
9. Collecting your passport
If everything goes well, you should receive two SMS text messages from the Passport Office. The first one is to inform you that your application for a Ugandan e-passport has been approved. The second text message will inform you that your Ugandan e-passport is ready for collection at your collection office. Personally, the process took only a week for an ordinary passport. Repeat the process in step 8, although you won’t have to get a ticket. Those collecting passports go to Enquiries with your application number. The collection tills are on the left side of the entrance to Internal Affairs.


